All-In-One video library & player for iOS/macOS/tvOS
...
Best local and net disk movie/tv player on Mac, creating a local personal media library.
Price reduced to Free Trial!
  • $29.99
  • 0
Best Mac Screen Recorders: In-Depth Review of Omi, Record It, Filmage Screen & TapRecord
  • XiangY
  • 2026-02-10 03:05:10


Best Mac Screen Recorders: In-Depth Review of Omi, Record It, Filmage Screen & TapRecord

Screen recording has become an essential feature for Mac users—whether it’s online teaching, product demos, remote meetings, or capturing gameplay highlights, a reliable screen recorder can dramatically improve productivity. In this review, we’ll compare four popular Mac App Store screen recorders based on ease of use, resolution & frame rate, and pricing: Omi, Record It, Filmage Screen, and TapRecord.


✅ 1、 Omi Screen Recorder: Best Value for Mac Users

N|Solid

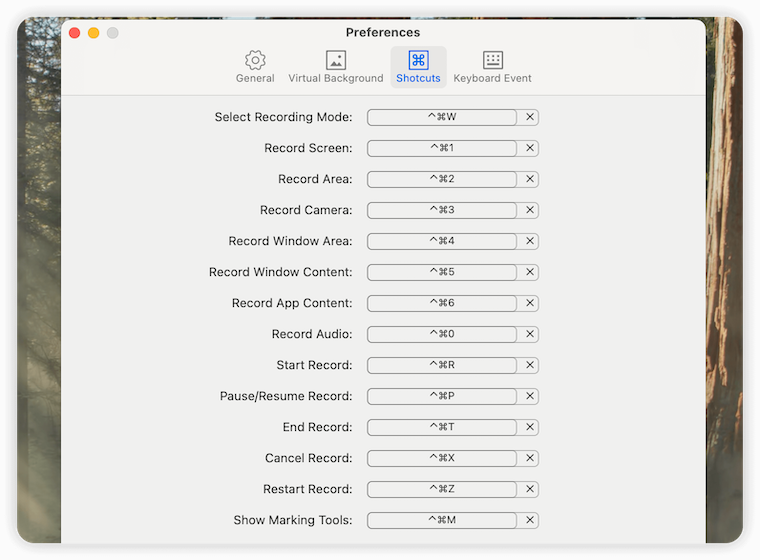
Omi is a lightweight screen recording tool designed specifically for macOS. It combines recording, editing, and format conversion into one app. It’s extremely user-friendly for beginners (just 2 minutes to get started) and powerful enough for advanced users with customizable shortcuts.

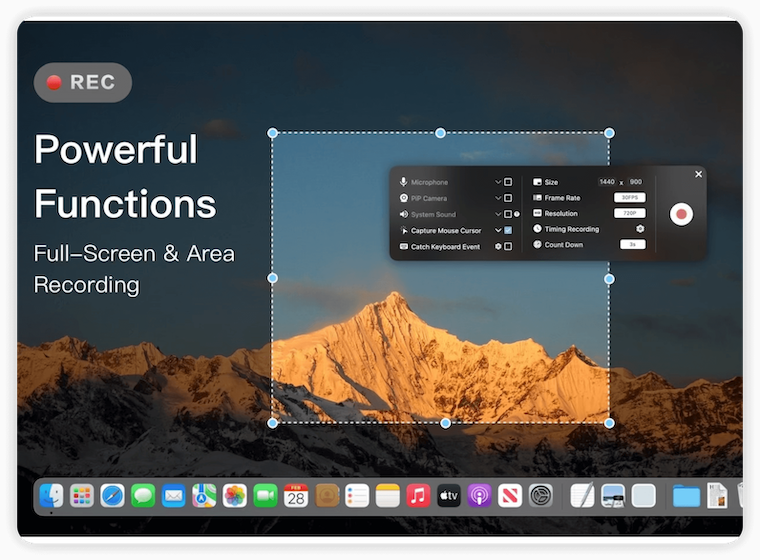
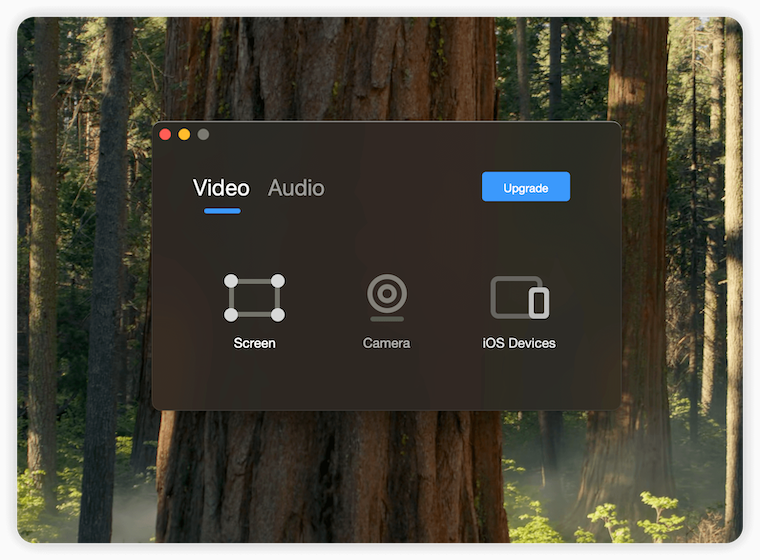
1、Ease of Use:The interface is clean and intuitive. Most key features are visible at first glance.

N|Solid

Click the Omi icon in the top-right menu bar to access more advanced settings.

N|Solid

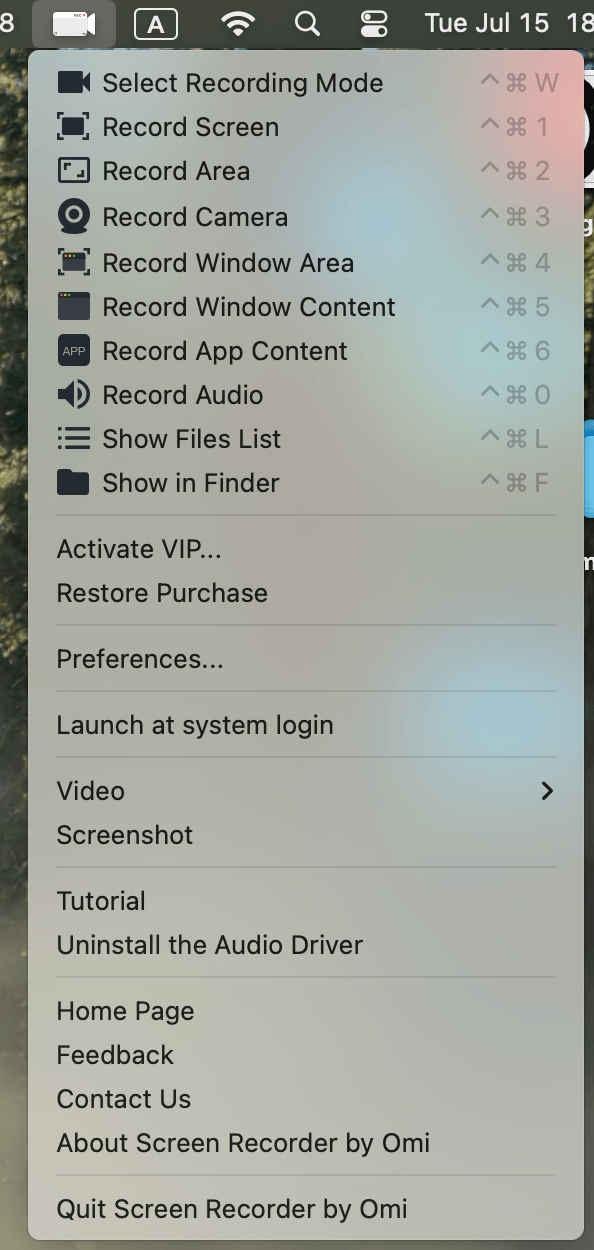
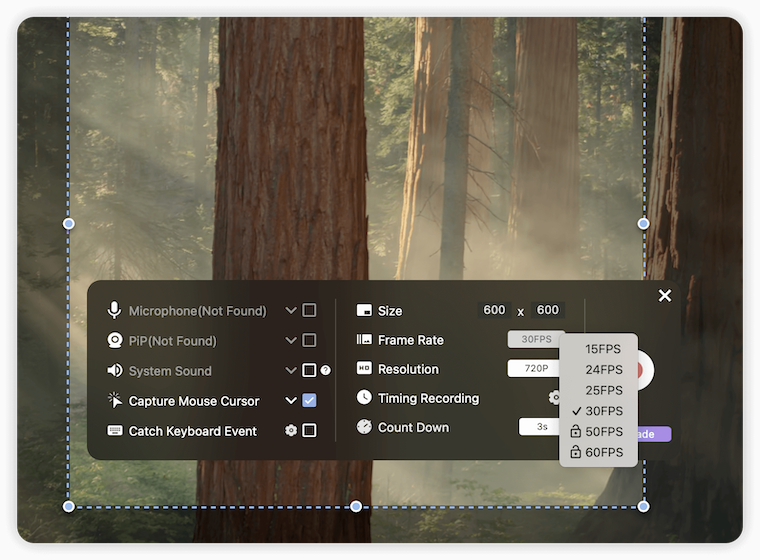
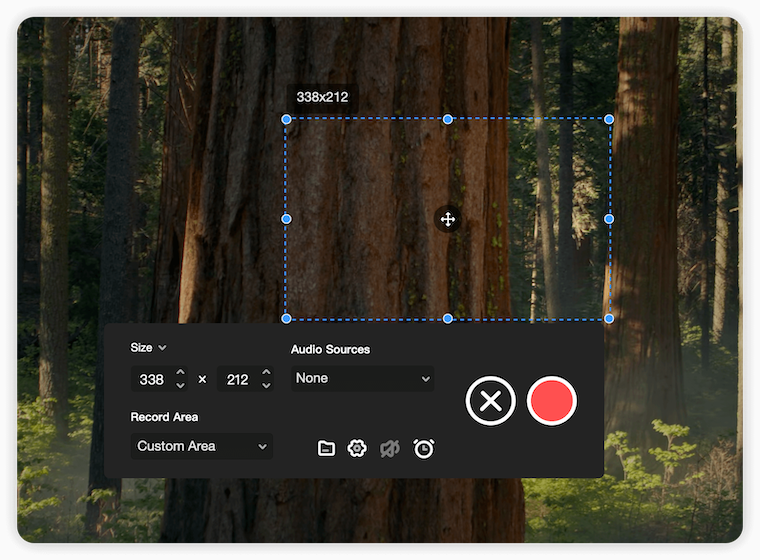
You can select recording type (e.g., region recording) and customize resolution, frame rate, camera input, system audio, recording area, and duration—all with a few clicks.

N|Solid

N|Solid

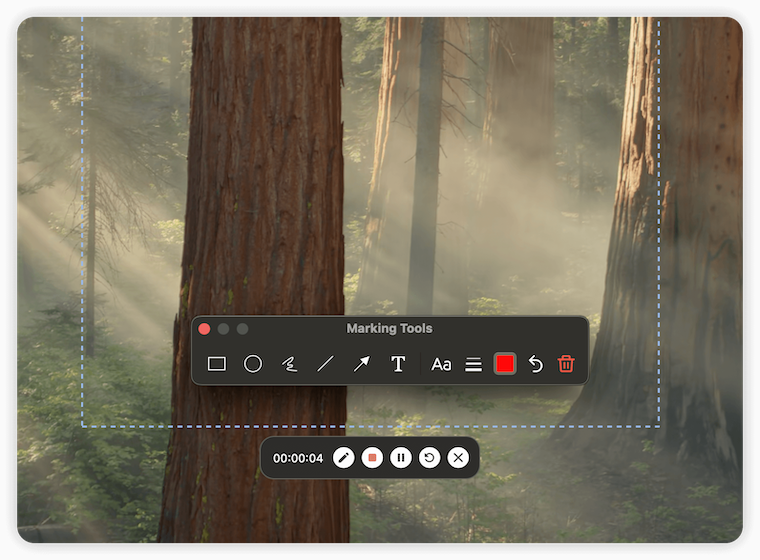
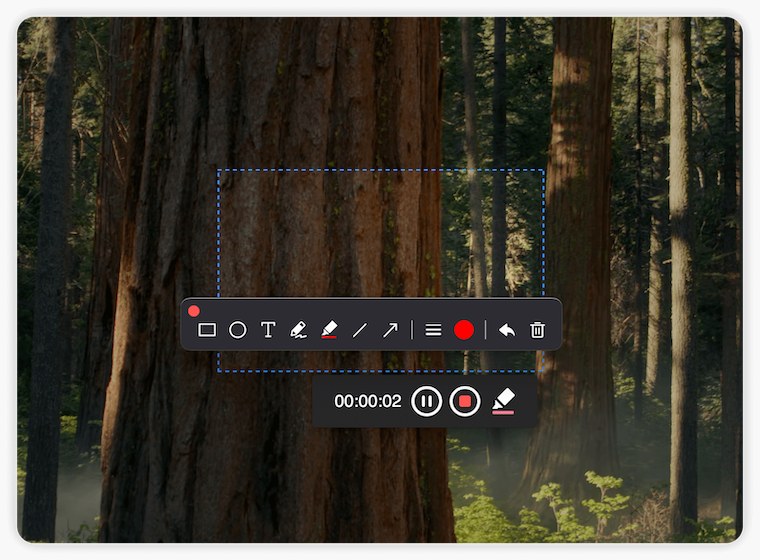
During recording, you can use the markup tool to annotate in real time—great for tutorials or meetings.

N|Solid

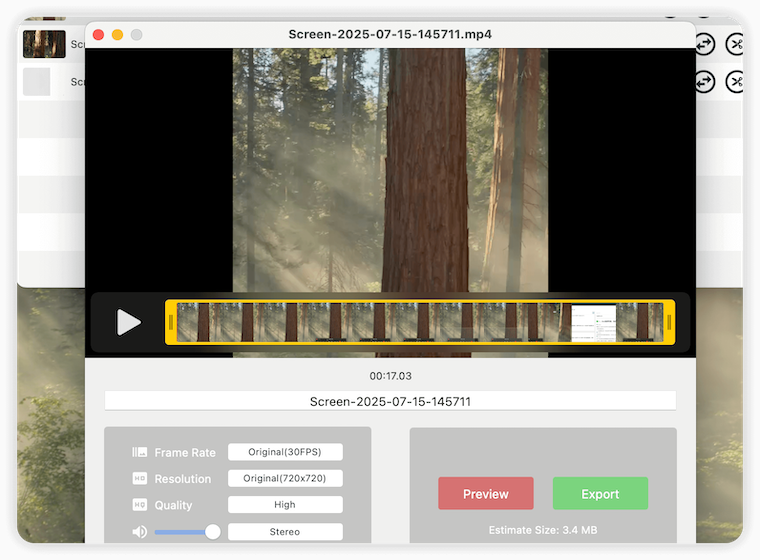
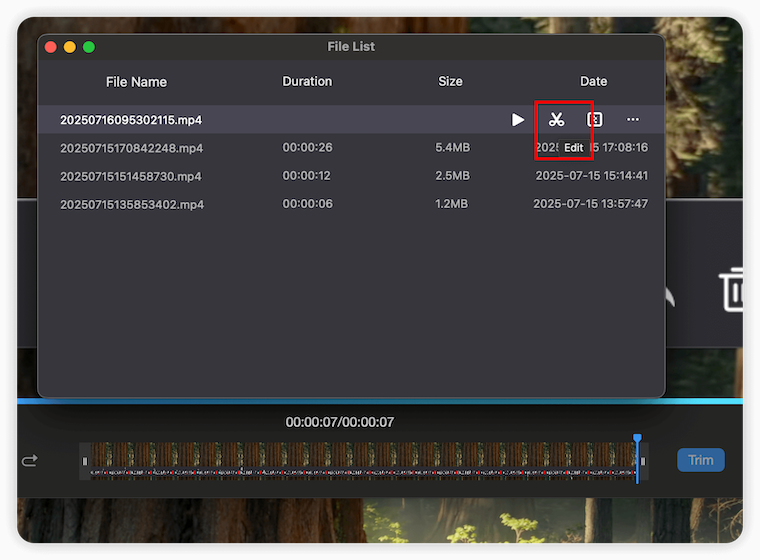
After recording, files are saved and listed for quick access. Click the Omi icon > Open File Location to find them. You can also edit, convert, or compress files (note: converting/compressing requires an additional driver). Editing lets you adjust length, quality, and frame rate, then export as MP4.

N|Solid

2、Resolution & Frame Rate:Omi supports 15–60 FPS, with resolution options including 720p, 1080p, and 4K.

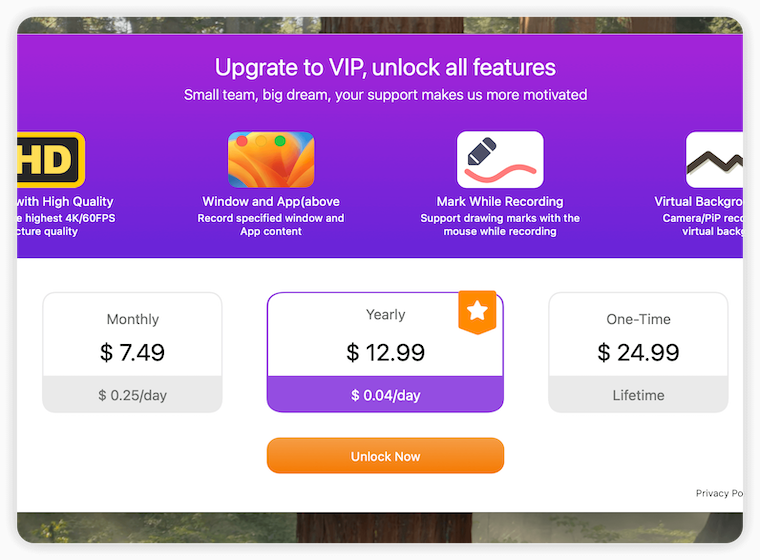
3、Pricing:The free version already covers most user needs. Upgrading to the Pro version unlocks more features at an affordable price:$7.49/month,$12.99/year,$24.99 one-time for lifetime use。Excellent value whether you pay or not—highly recommended.

N|Solid

⚙️ 2、Record It

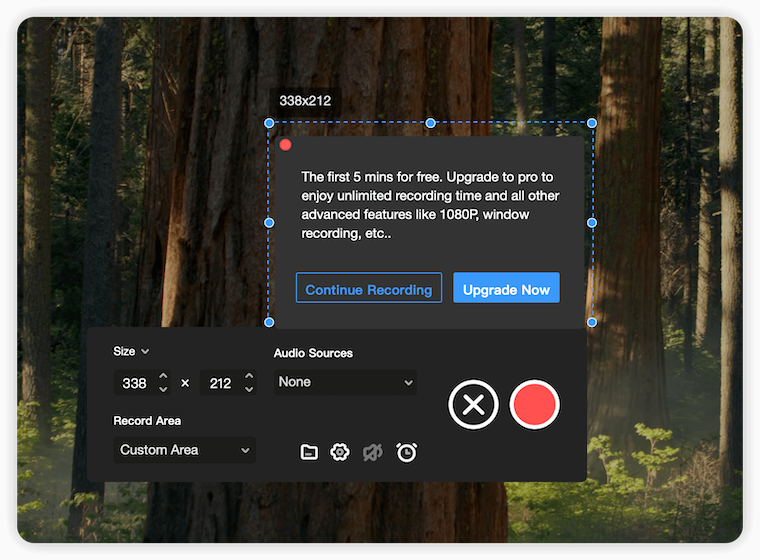
Record It is a lightweight, professional screen recorder ideal for capturing full screen or selected regions—perfect for classes and meetings.

1、Ease of Use:Simple interface with two tabs: Video Recording and Audio Recording.

N|Solid

After selecting “Computer Screen,” use your mouse to define the recording area, then tweak size, audio sources, and more.

N|Solid

Markups during recording are supported—useful for presentations.

N|Solid

After recording, you can edit and compress videos via the file list.

N|Solid

2、Resolution & Frame Rate:Not customizable in the free version—you must upgrade to unlock these settings.

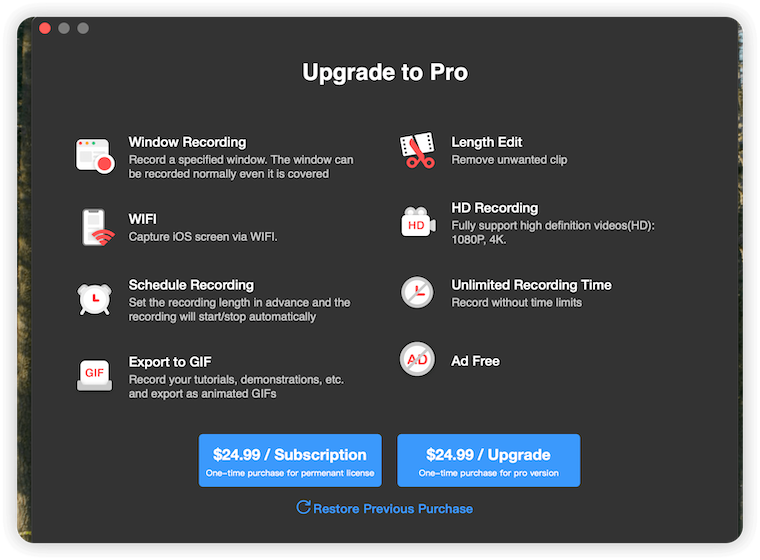
3、Pricing:The first recording has no time limit, but after that, only the first 5 minutes are free. Features like scheduled recording and editing are Pro-only.

N|Solid

N|Solid

Compared to Omi, Record It’s free version is more limited in functionality.

🎮 3、Filmage Screen

Filmage Screen is an all-in-one screen recording solution that’s beginner-friendly and ideal for recording lectures, meetings, and more.

1、Ease of Use:The UI is simple and intuitive.

N|Solid

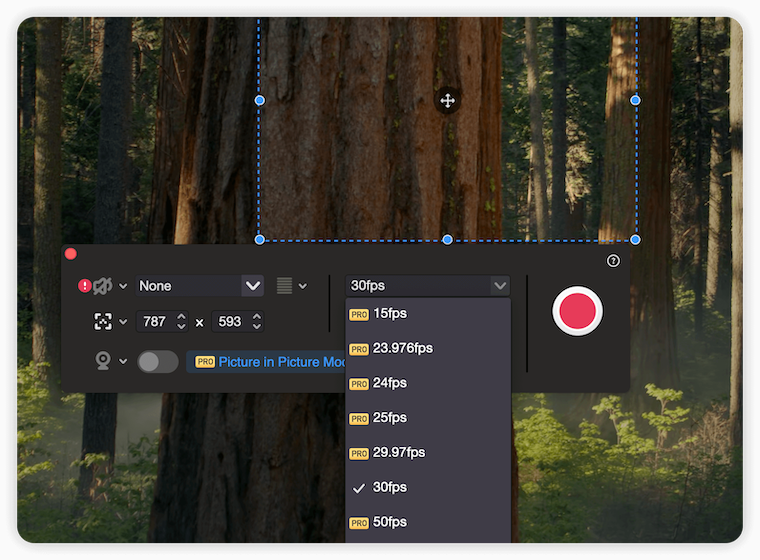
Supports full-screen, selected window, or region recording. You can also record using a webcam. In the Pro version, you can set frame rate and resolution in advance.

N|Solid

After recording, you can edit files in the library. The Pro version offers a rich set of editing tools.

N|Solid

N|Solid

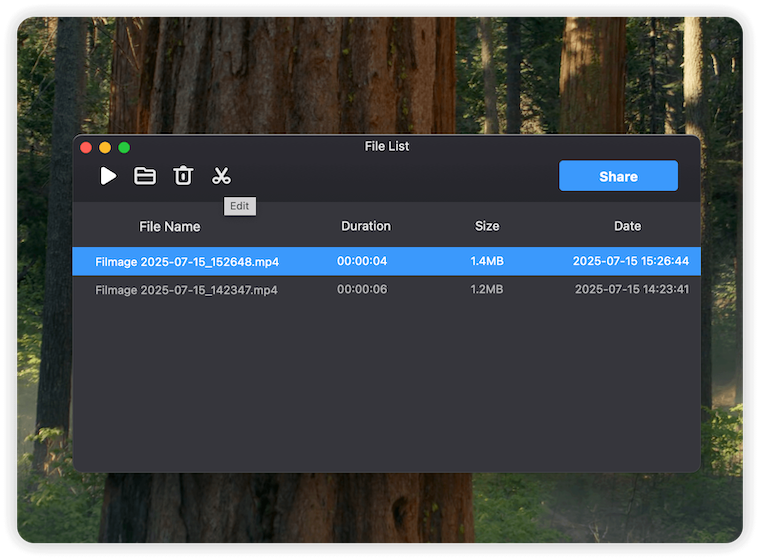
It also includes a video converter: convert recordings into formats like MKV, MOV, etc.

N|Solid

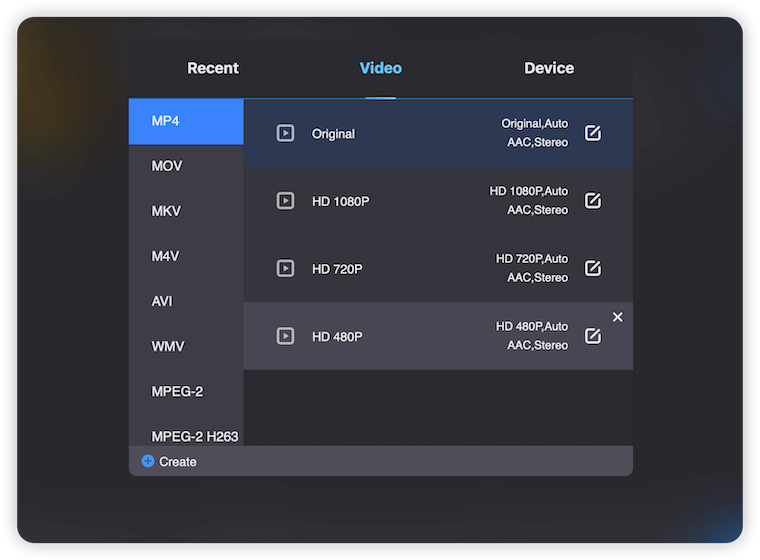
2、Resolution & Frame Rate:Offers 15–60 FPS and resolutions up to 4K—same as Omi.

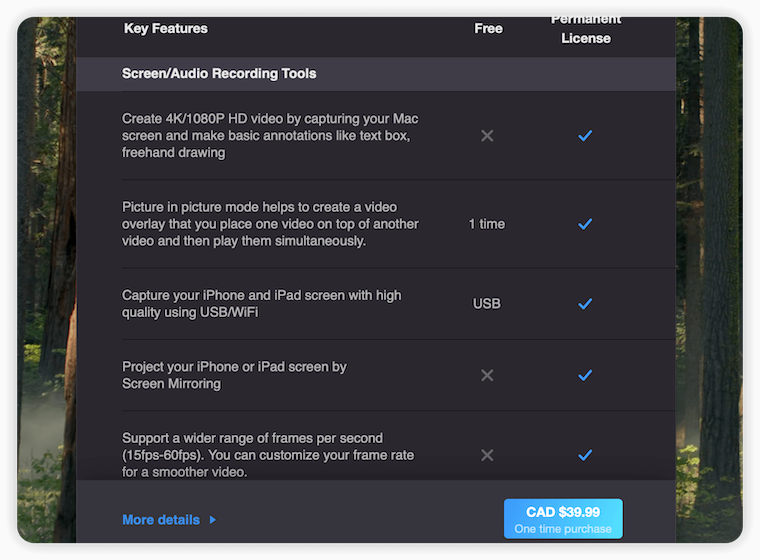
3、Pricing:Pro version costs ~$39, and most advanced features require a subscription.
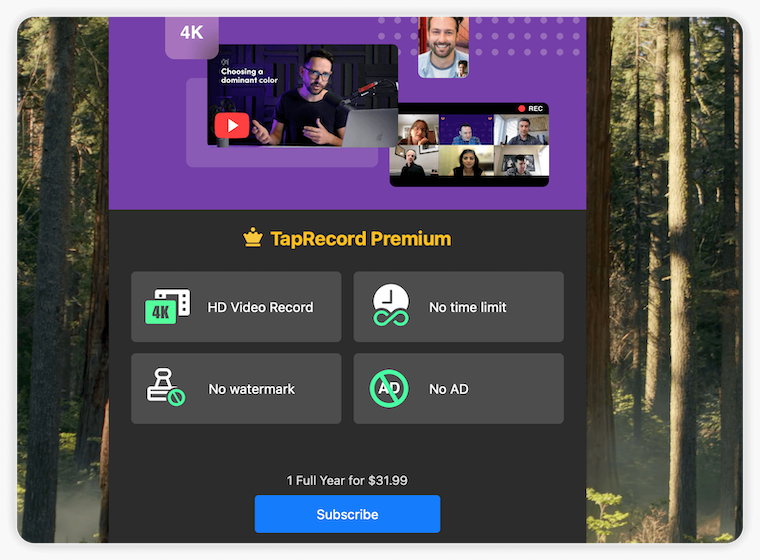
N|Solid

✂️ 4、TapRecord

TapRecord is a versatile screen recorder for everyday use, from meetings to movies.

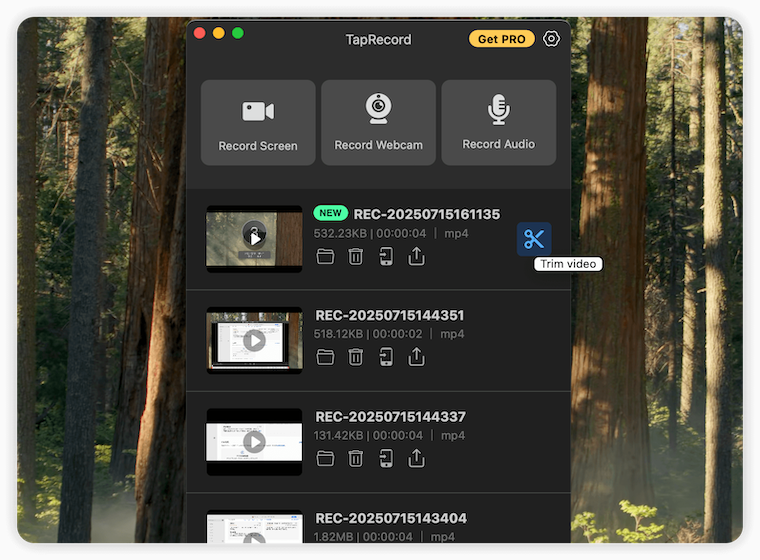
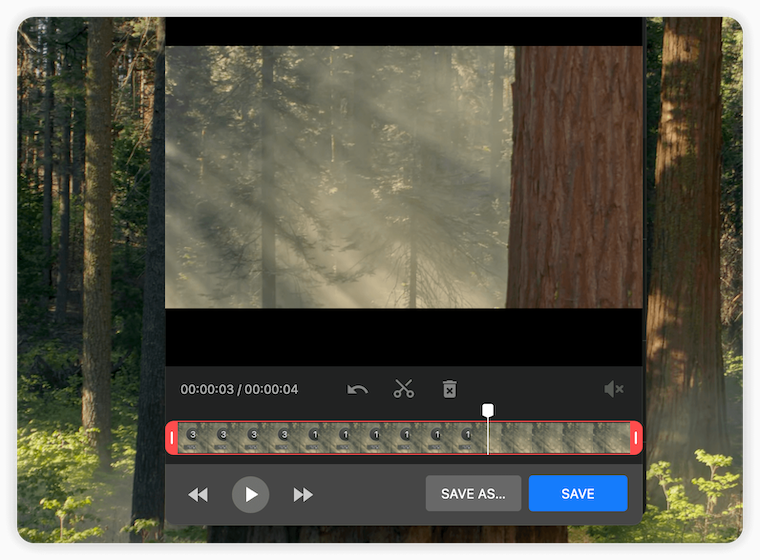
1、Ease of Use:Interface is minimal—three tabs for screen, camera, and audio recording. Files are shown directly below.Select a region, then adjust resolution, frame rate, and dimensions. Editing is available post-recording.

N|Solid

N|Solid

2、Resolution & Frame Rate:Offers 15–60 FPS and resolutions up to 4K—even in the free version!

3、Pricing:Free version has time limits. Annual Pro subscription costs ~$31.

N|Solid

💡 5、Final Verdict

Each of these Mac screen recording tools has its strengths, but if you’re looking for a simple, powerful, and cost-effective solution, Omi Screen Recorder stands out. It offers multiple recording modes, real-time markup, editing, format conversion, and more—all in a clean and intuitive interface. The free version is more than enough for most users, and the Pro version is very affordable. In comparison, the other apps either limit features in the free tier or charge more for similar functionality.If you’re choosing your first Mac screen recorder, we highly recommend starting with Omi.


Hottest Articles

Latest Articles

Mac System Data Exceeding 200GB? Here’s How to Actually Clear It — A Deep Dive with Heavy Keynote Usage and Time Machine as Examples I. Problem Overview After long-term use, some macOS users discover that “System Data” in Storage Settings grows abnormally large. Common symptoms include: System Data occupying 200GB or more https://cdn.okaapps.com/resource/图2.webp No corresponding files can be located in Finder Deleting caches or log files has little effect Third-party cleaning tools are ineffective Uninstalling and reinstalling apps (such as Keynote) does not help Even after reinstalling macOS, the issue reappears after some time This problem is especially common among heavy productivity users, such as those working extensively with Keynote, Final Cut Pro, or design tools. II. Commonly Tried but Ineffective Solutions Users typically attempt the following methods, most of which fail to solve the problem at its root: Manually deleting directories such as ~/Library/Caches and ~/Library/Logs Using third-party cleaning tools like CleanMyMac or similar utilities Uninstalling and reinstalling Keynote Reinstalling macOS via “Reinstall macOS” These approaches are limited because they do not address the real sources behind System Data inflation. III. What Exactly Is “System Data”? It is important to understand that: System Data is not a real folder, but rather a collection of data that macOS cannot accurately categorize. System Data may include, but is not limited to: macOS system temporary files Application and system caches Portions of the user Library (~/Library) Files Spotlight cannot classify Large resource files inside application packages Local caches from cloud services (such as iCloud or OneDrive) iPhone / iPad backup files Residual data from deleted user accounts Time Machine local snapshots As a result, System Data cannot be reliably inspected or reduced through simple cache deletion or Finder-based browsing. IV. Key Cause #1: Time Machine Local Snapshots Consuming Disk Space How Local Snapshots Work Even when no external drive or NAS is connected, macOS will: https://cdn.okaapps.com/resource/图3.webp Create a Time Machine local snapshot every hour Retain snapshots from the last 24 hours by default If the backup destination remains disconnected, keep local snapshots associated with the most recent full backup These snapshots: Are based on the APFS file system Do not appear as regular files Are entirely counted under System Data In some cases, local snapshots can consume tens or even hundreds of gigabytes. https://cdn.okaapps.com/resource/图4.webp Why They Sometimes Cannot Be Deleted When Time Machine uses a NAS or network storage device as its backup destination, the following situations may occur: The NAS was previously disconnected The network path or IP address changed The backup was not re-“claimed” by the system As a result, macOS may treat these snapshots as belonging to an unreachable backup destination, leading to: tmutil deletion failures Errors such as Stale NFS file handle Snapshots that cannot be reclaimed, causing persistent disk usage V. Key Cause #2: How Keynote and Similar Apps Amplify System Data Keynote itself is not malfunctioning, but its design inherently amplifies System Data usage: Keynote files are actually packages containing large numbers of resources These may include: High-resolution images Embedded videos Fonts Animation and transition assets Spotlight sometimes fails to correctly classify these resources, causing them to be grouped under System Data. For users who frequently create large, media-heavy presentations, steady growth in System Data over time is expected. VI. Effective Solutions (Prioritized) Solution 1: Verify and Restore Time Machine Backup Status (Recommended) Open Disk Utility From the menu bar, select Show APFS Snapshots Select the system Data volume Check whether a large number of Time Machine local snapshots exist If using a NAS as the backup destination: Reconnect the NAS Select the original backup in Time Machine settings Follow the prompts to claim the existing backup Once the backup relationship is properly restored, macOS can automatically manage and reclaim snapshot space. Solution 2: Use Disk Analysis Tools to Identify Real Space Usage It is recommended to use tools that analyze disk usage without automatically deleting files, such as: GrandPerspective EtreCheck The goal is to identify: Which files or directories consume the most space Whether disk usage is abnormally concentrated in specific areas Avoid relying on “one-click cleanup” tools. Solution 3: Check for Residual Data from Old User Accounts If the device previously: Had multiple user accounts Removed accounts without deleting their home folders Then old home directories may still exist and be counted as System Data. Solution 4: Rebuild the System Environment Completely (Last Resort) When System Data usage becomes severely unmanageable and no clear source can be identified, the only definitive solution is: Fully back up all current data Erase the disk and reinstall macOS During setup: Migrate only the user account Do not migrate system settings, applications, or Library data This approach completely removes legacy data structure issues. VII. Long-Term Prevention Tips (for Keynote and Content Creators) Archive older Keynote projects to an external drive or NAS Avoid storing large volumes of presentation files locally for long periods Keep the Time Machine backup destination consistently available Avoid third-party tools that perform automated “system-level cleaning” Periodically monitor disk usage with analysis tools VIII. Conclusion Abnormally large macOS System Data usage is rarely caused by a single cache or log issue. Instead, it is typically the result of Time Machine local snapshots, application package resources, and inherited historical data structures working together. Only by understanding what System Data actually contains—and addressing the root causes—can disk space issues be resolved effectively and long-term.